This documentation assumes you have set up the client and campaign correctly and are logged in to convergix.io as an administrator or agent.
Navigate to Conversations #
In the top menu bar, click the Conversations header.
![]()
Filter Client (optional) #
This step is not intrinsically required but it just makes it easier to find yourself as a lead if you already have a lot in there…
In the left side bar at the bottom, you will see “Filter” (scroll down on the sidebar if you don’t). Click “Select Clients”
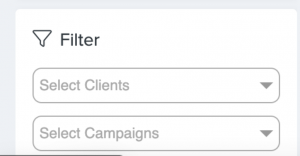
Select Client #
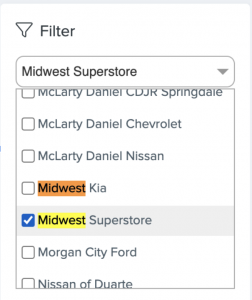
Once clicked, a list should pop up. You can either scroll the list, which is extensive. OR you can Ctrl + F to find, and then type the store name. It should highlight the store name at that point and even jump you to it in the list. Click the desired client and then either click anywhere on the screen off the dropdown or click the Save button below it.
Search Test Lead Name #
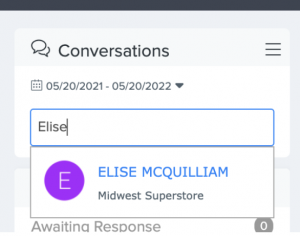
Now at the top of that left sidebar, there is a search box. Click the box and start typing the name for the test lead. Because you filtered your list, it will only show names in that specific store. Click the lead.
Enter Phone/Email #
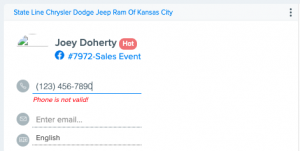
Now once the lead is selected, on the right hand side you will see the customer name. Under that, enter the phone and email. Either click off the text box or press enter to save each value.
Click Set Appointment #
Under the customer info, there is an appointment button. Click that.
![]()
Send Appointment #
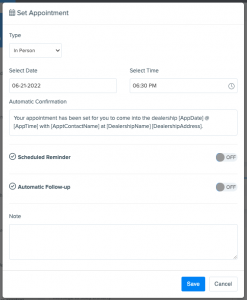
The appointment window will pop up. Set your desired appointment time. Type any notes you may need, then click the BLUE “Save” button. This will set an appointment and send that to the CRM.
Possible Alternative to Send to CRM #
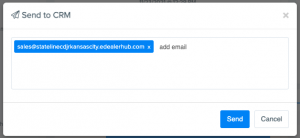
If you are not looking to book an appointment or want a quick send to CRM. You can click the Send to CRM button in the right hand Actions Panel.

Once that is clicked, a box showing the CRM email it is sent to will pop up. You can change the email here if you want it to go somewhere else. Otherwise click “Send”
